Getting the installation Right! Raspberry Pi 4 with Ubuntu 20.04 + ROS Noetic + Intel RealSense
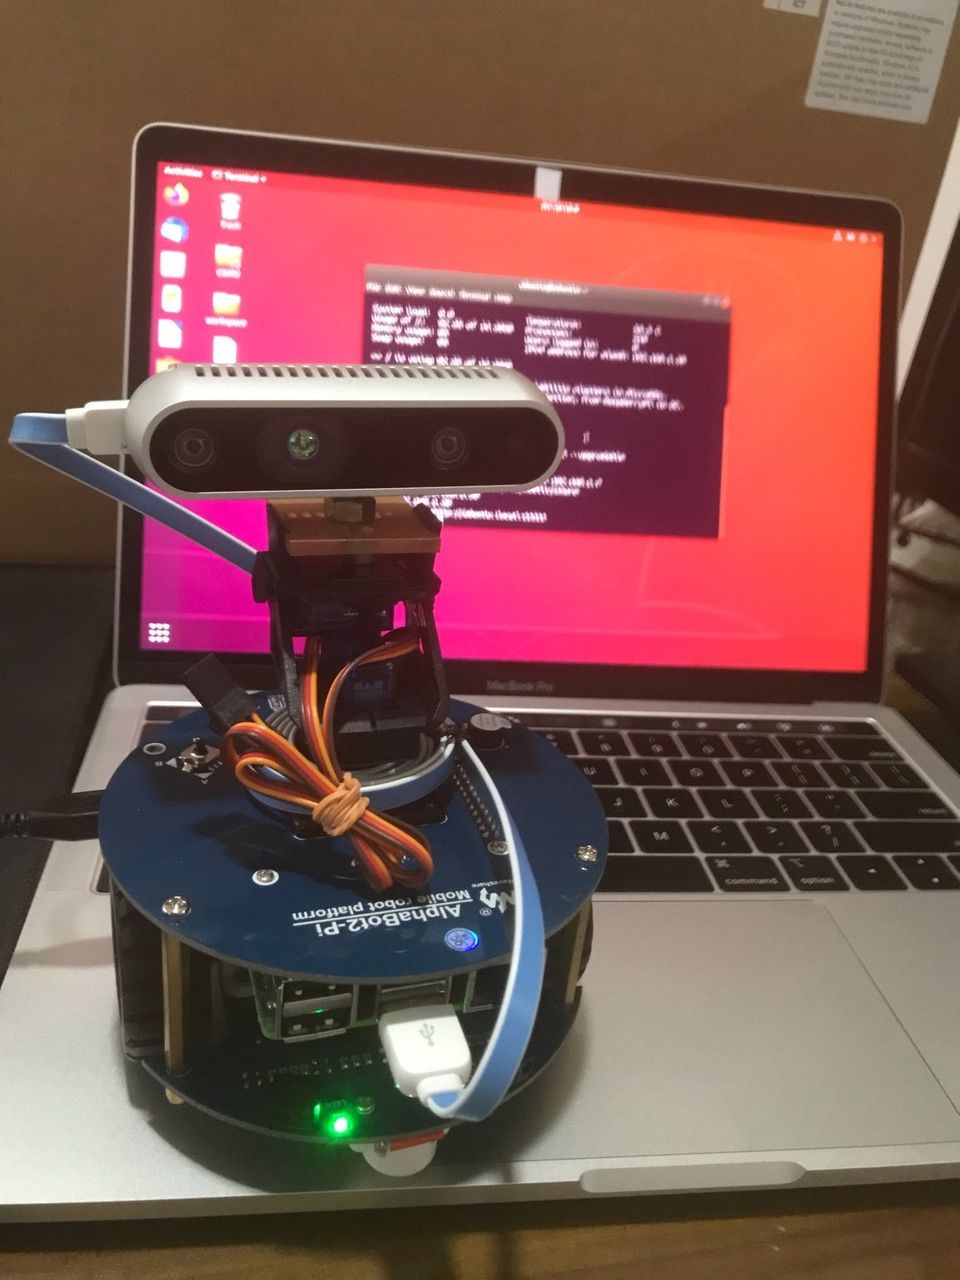
Here I am after lot of iterations trying to install Ubuntu on Raspberry Pi 4(RPi4). Initially I made certain mistakes when selecting the correct ubuntu version & Desktop.
The steps below are which I followed to finalize my Rpi Installation with Ubuntu.
Ubuntu on RPi - Confusions?
My goal was to have a stable ROS installation on ubuntu on RPI4. When considering the dependencies, I realized that RPI officially supports Ubuntu 20.04 & 20.10. And as of now, the ROS version that matches with one of those ubuntu versions (Ubuntu 20.04) is ROS Noetic.
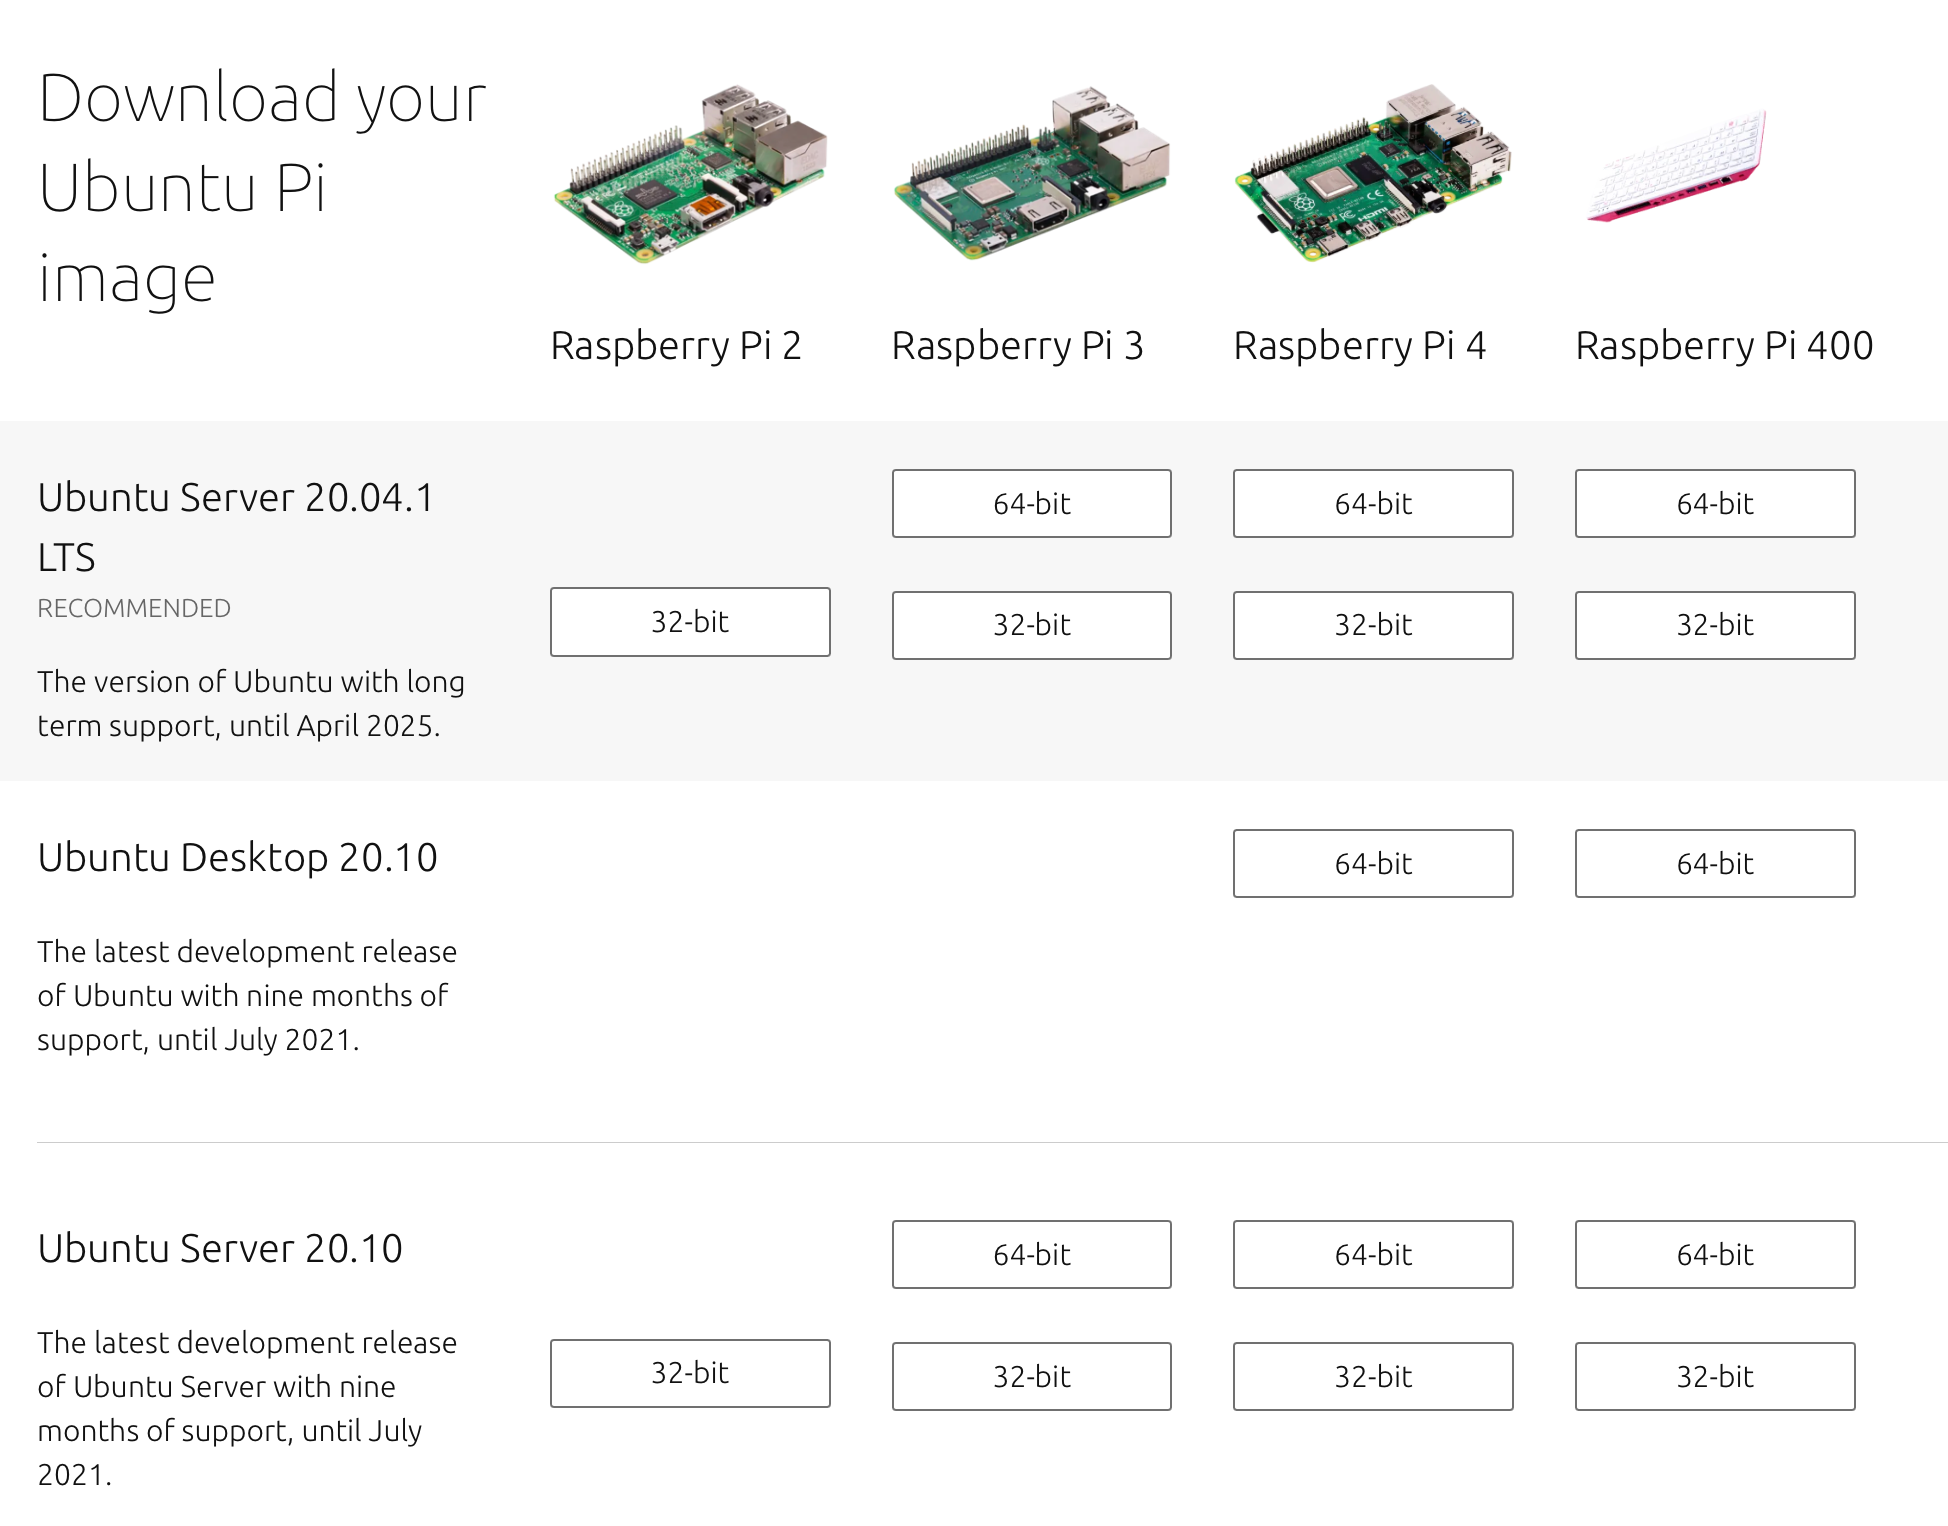
Now in ubuntu's official download page (For RPi), they have listed the following versions. However, Ubuntu 20.04 Desktop version is not listed here. Therefore, the goal should be to install Ubuntu Server 20.04 and then install a desktop of our choice.
How this guide is organized
- Installing Ubuntu Server 20.04.1
- Setting up SD card (through RPi Imager)
- Editing network-config file => connect to network - Installing the Desktop for Ubuntu Server
- Trying out screen sharing
- Connect remotely to view desktop - Installing ROS Noetic
- Installing Realsense libraries for Ubuntu 20.04
1. Installing Ubuntu Server 20.04.1
To install ubuntu server follow the official guide. When editing the file in microSD, double check whether you have edited it properly with correct wifi credentials
https://ubuntu.com/tutorials/how-to-install-ubuntu-on-your-raspberry-pi#1-overview
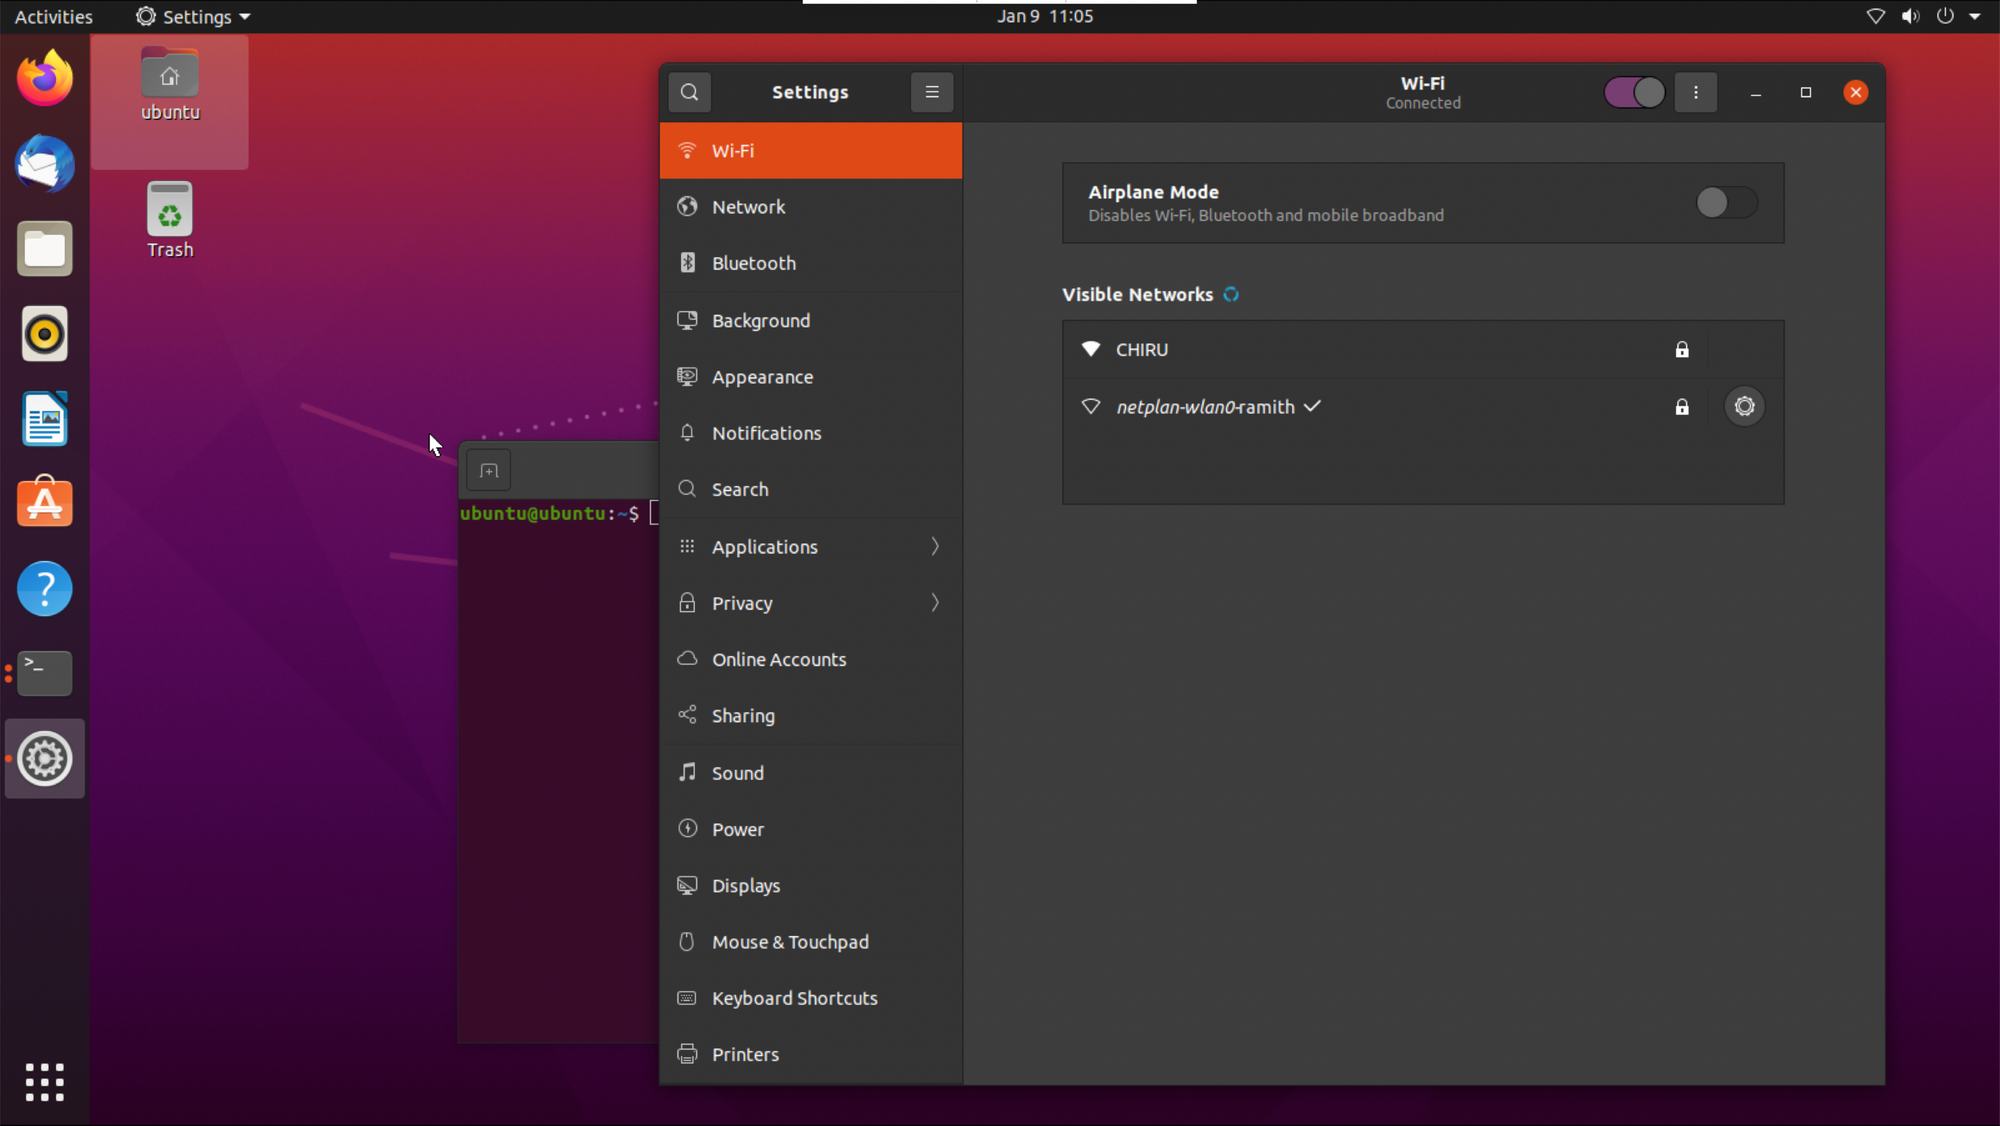
2. Installing the Desktop for Ubuntu Server
This is a tricky part, after searching for "how to install desktop on ubuntu server", I tried this command ❌ sudo apt-get install ubuntu-desktop which led me to lot of errors in the Desktop environments, such as wifi connections not displaying etc.
Therefore, we will be using a tool called Desktopify. After you have installed ubuntu server, follow these steps to install the Desktop
git clone https://github.com/wimpysworld/desktopify.git
cd desktopify
sudo ./desktopify --de ubuntu
This will take some time to install. This script will take care of all the dependencies you need, and will install a clean desktop environment
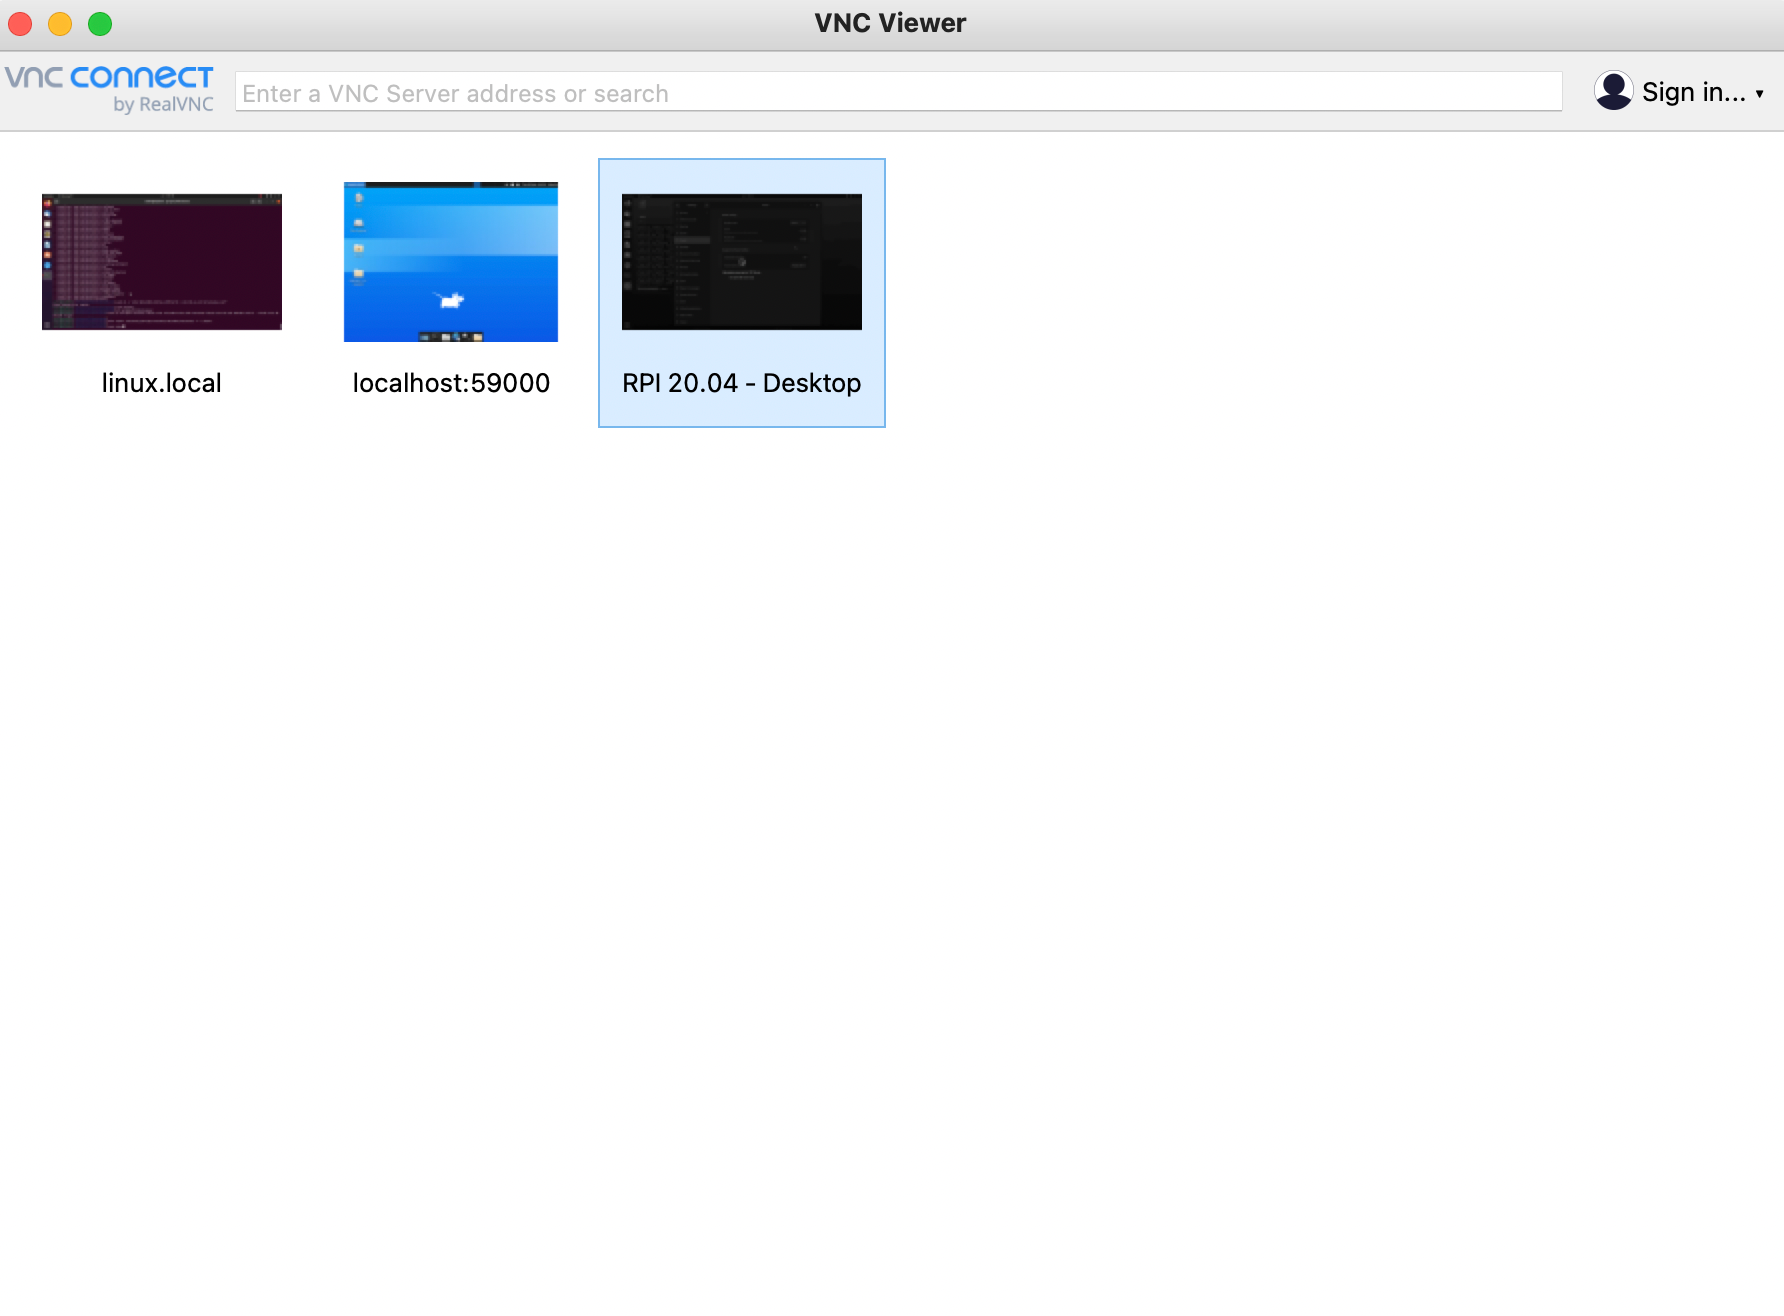
3. Trying out screensharing
Please follow the guide here to enable screensharing so that you can view the RPi's desktop remotely from your Laptop.
NOTE: To connect from your computer you will first need a monitor which is plugged to the RPI4. If you want to access the screen remotely even when a monitor is not attached, Check the very end of this post.
4. Installing ROS Noetic
You can follow these steps, to install ROS Noetic
http://wiki.ros.org/noetic/Installation/Ubuntu
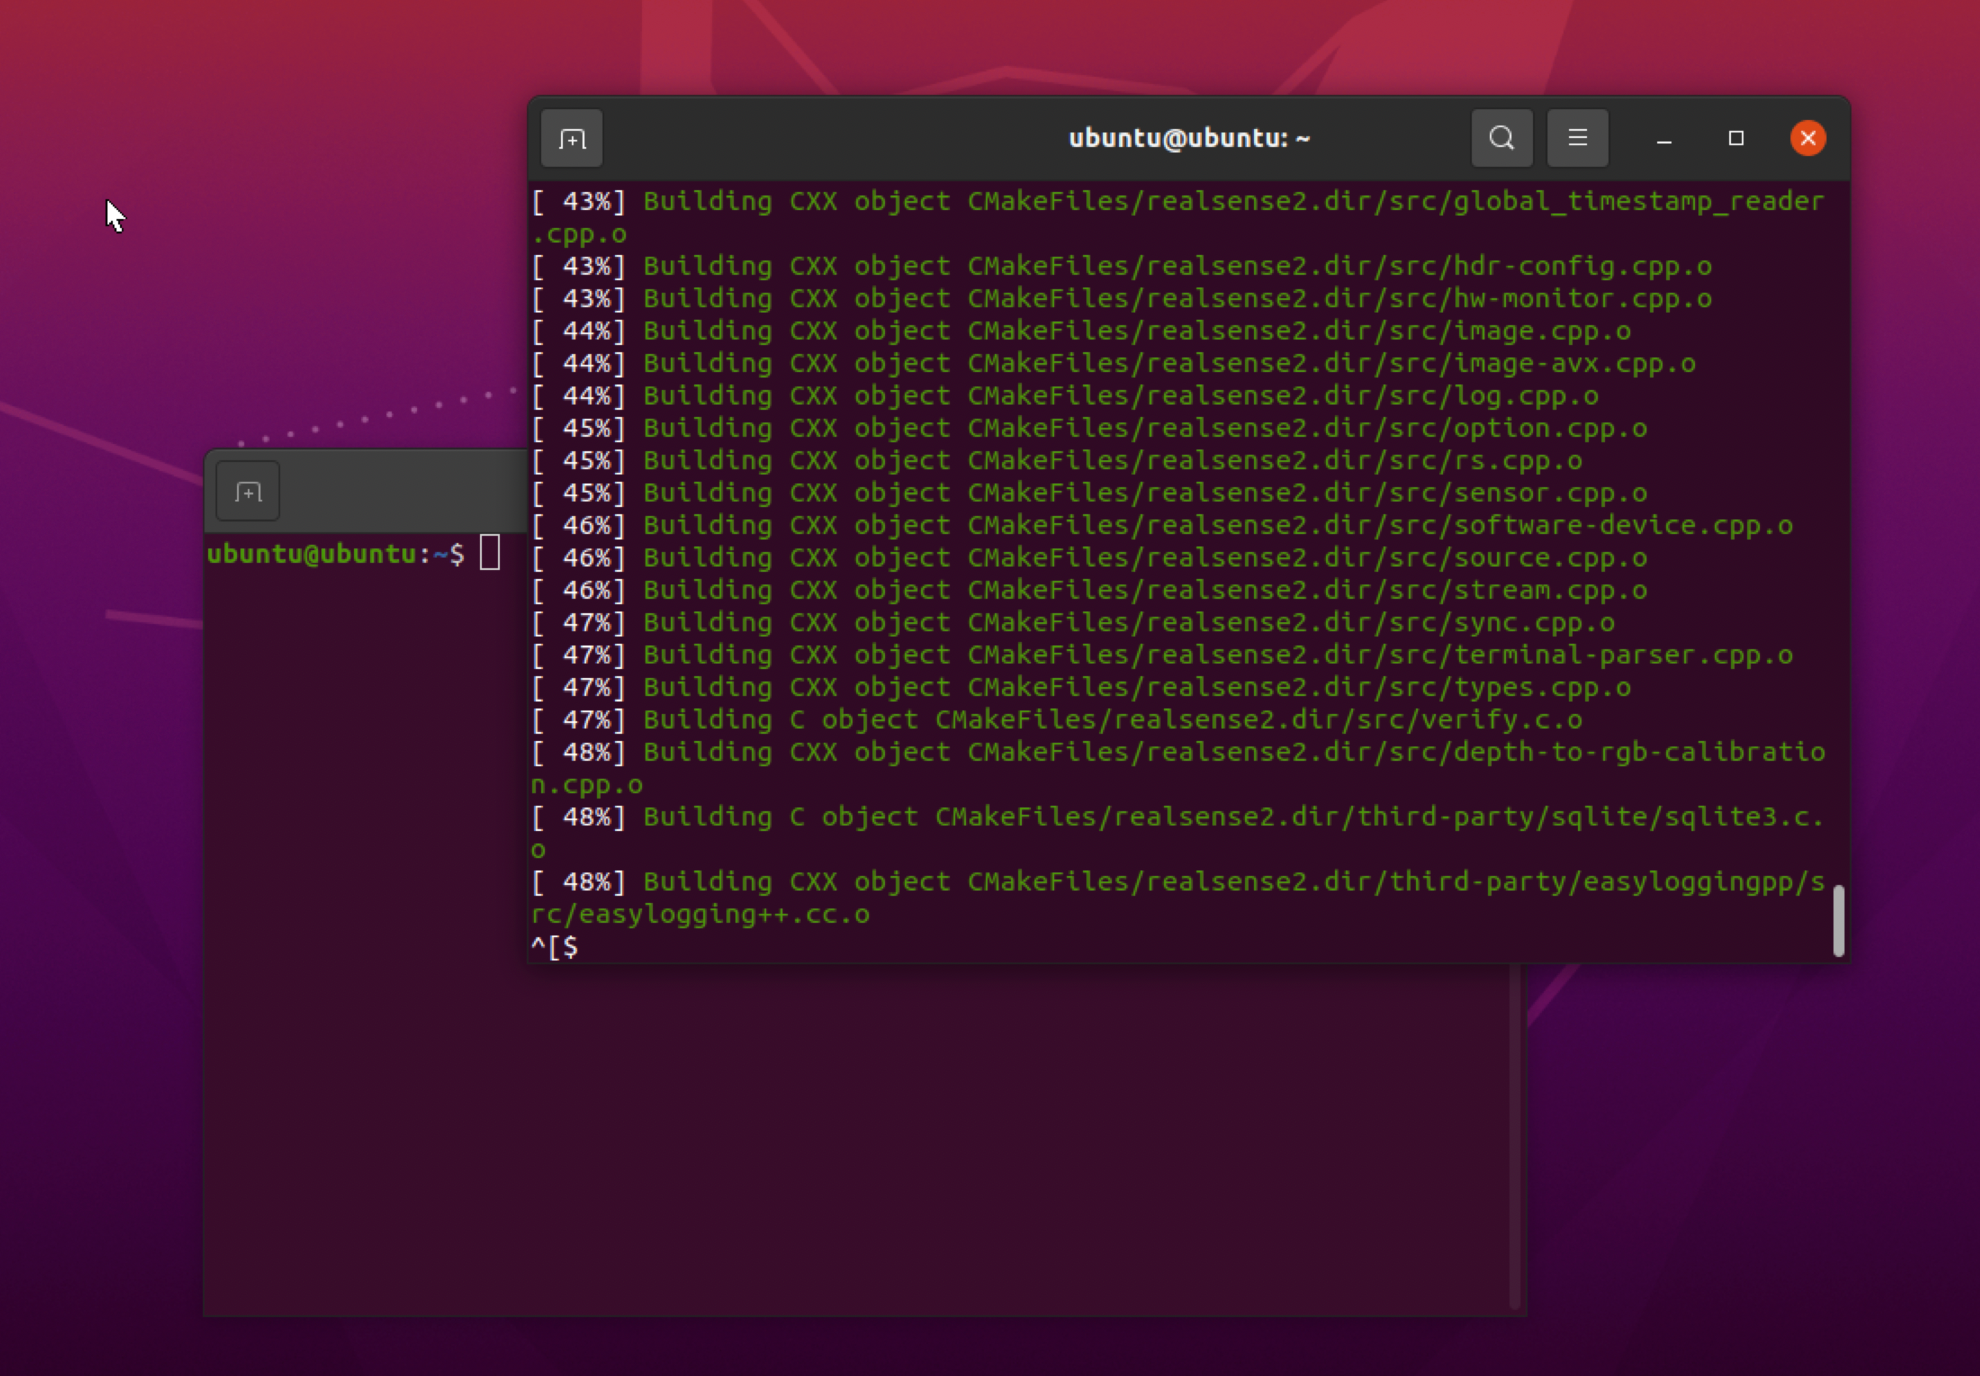
5. Installing Realsense libraries
My friend Shalutha suggested these steps to install the required dependencies of Realsense.
You can copy paste these steps to an .sh file and execute it
nano realsense.sh
#copy paste the steps listed in the link to this file
chmod +x realsense.sh
./realsense.sh

Congratulations 🥳
Now you have a stable ubuntu desktop 20.04 installation!
/opt/realsense/bin/realsense-viewer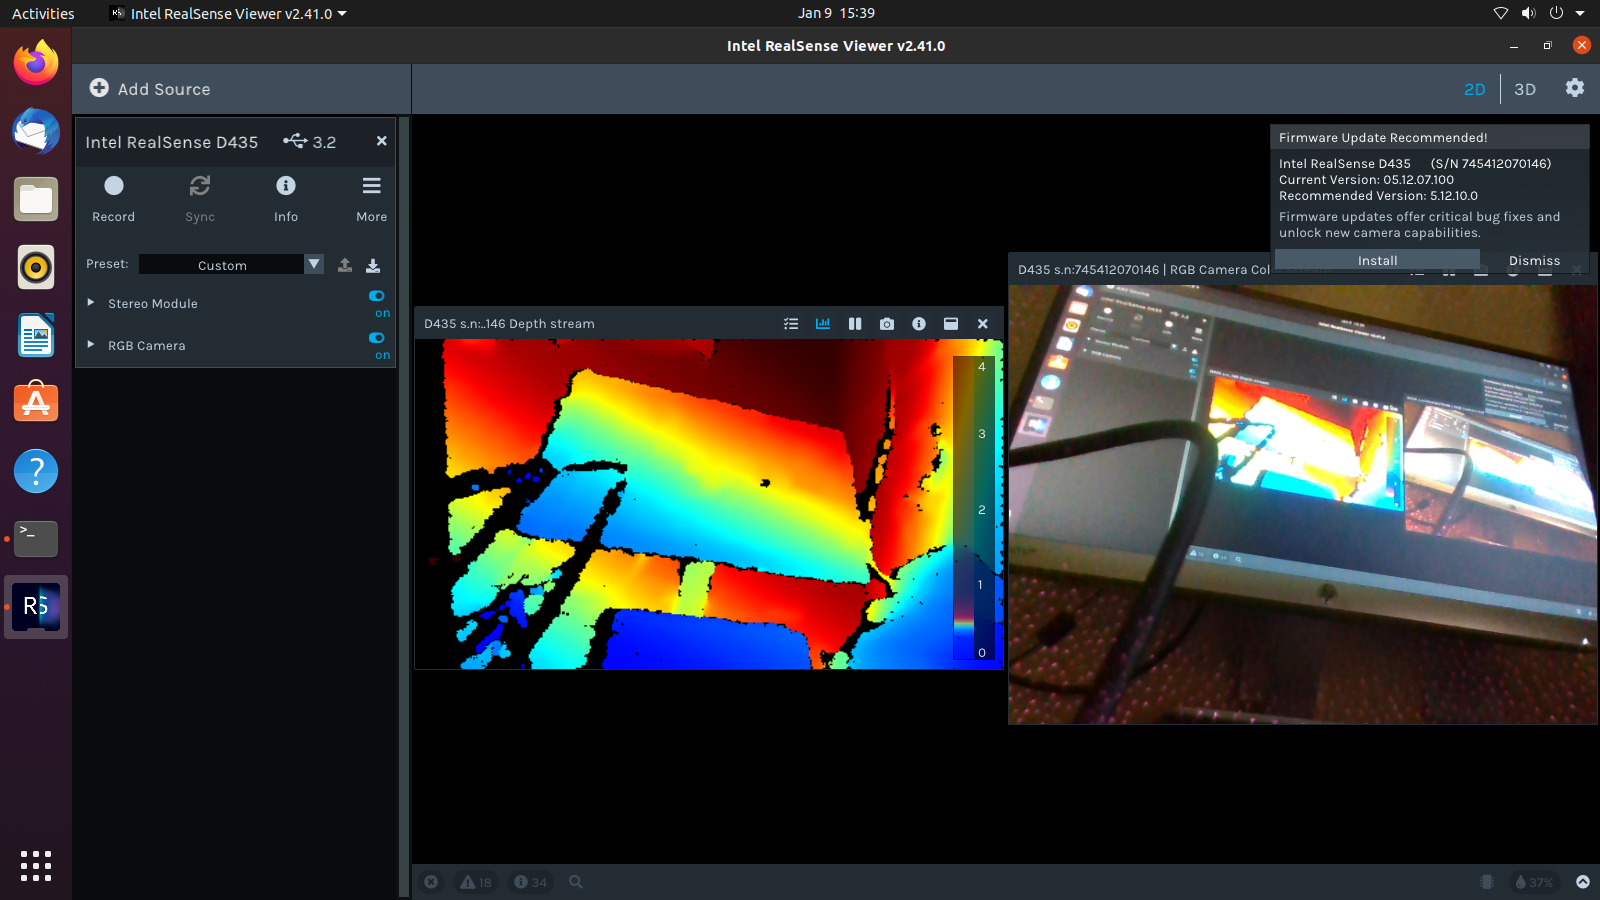
Extras
1. If you want to log in to ubuntu using an ssh key, follow this tutorial.
2. Accessing remote screen when a monitor is not attached.
sudo apt-get install xserver-xorg-video-dummySection "Device"
Identifier "Configured Video Device"
Driver "dummy"
EndSection
Section "Monitor"
Identifier "Configured Monitor"
HorizSync 31.5-48.5
VertRefresh 50-70
EndSection
Section "Screen"
Identifier "Default Screen"
Monitor "Configured Monitor"
Device "Configured Video Device"
DefaultDepth 24
SubSection "Display"
Depth 24
Modes "1024x800"
EndSubSection
EndSectionsudo nano /etc/X11/xorg.conf
Now reboot the RPi sudo reboot. Then you can connect from your laptop even if there is no monitor attached to the RPi.
(source: https://askubuntu.com/questions/453109/add-fake-display-when-no-monitor-is-plugged-in)